Description
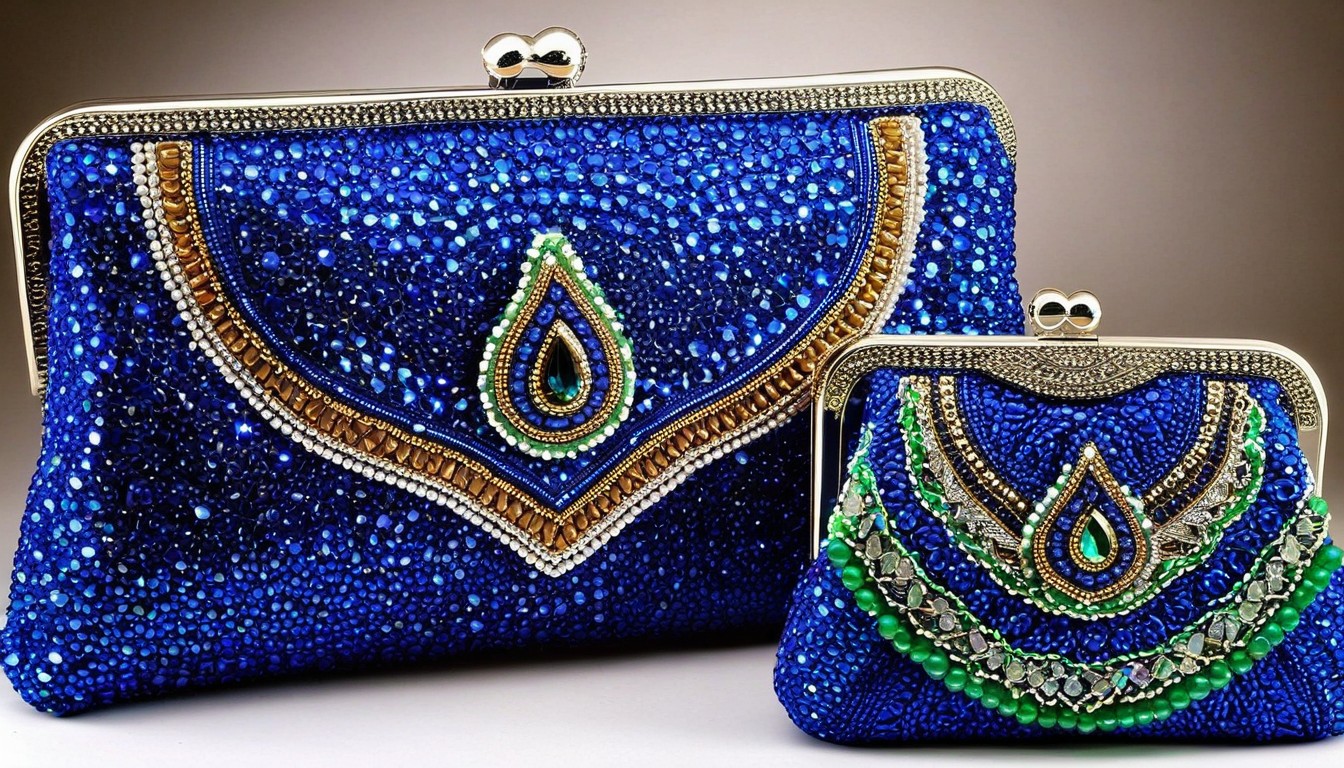
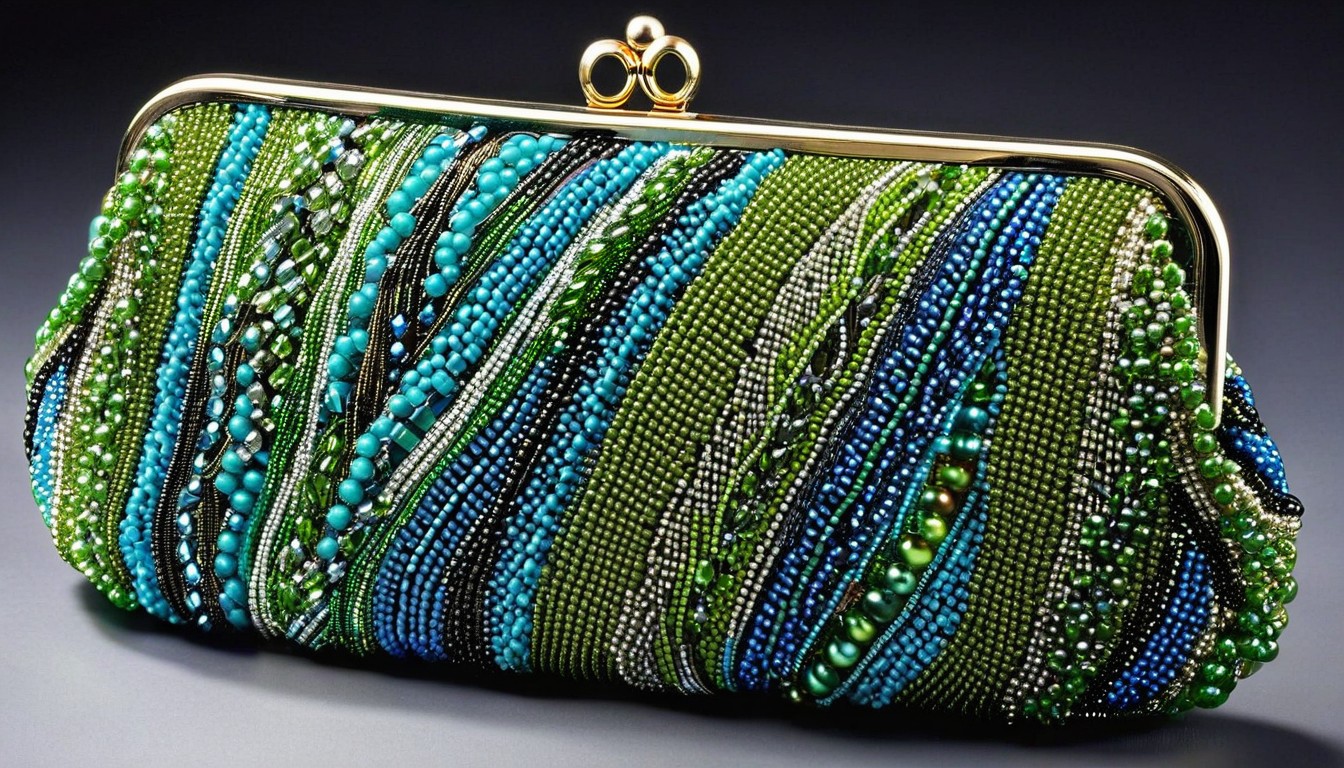
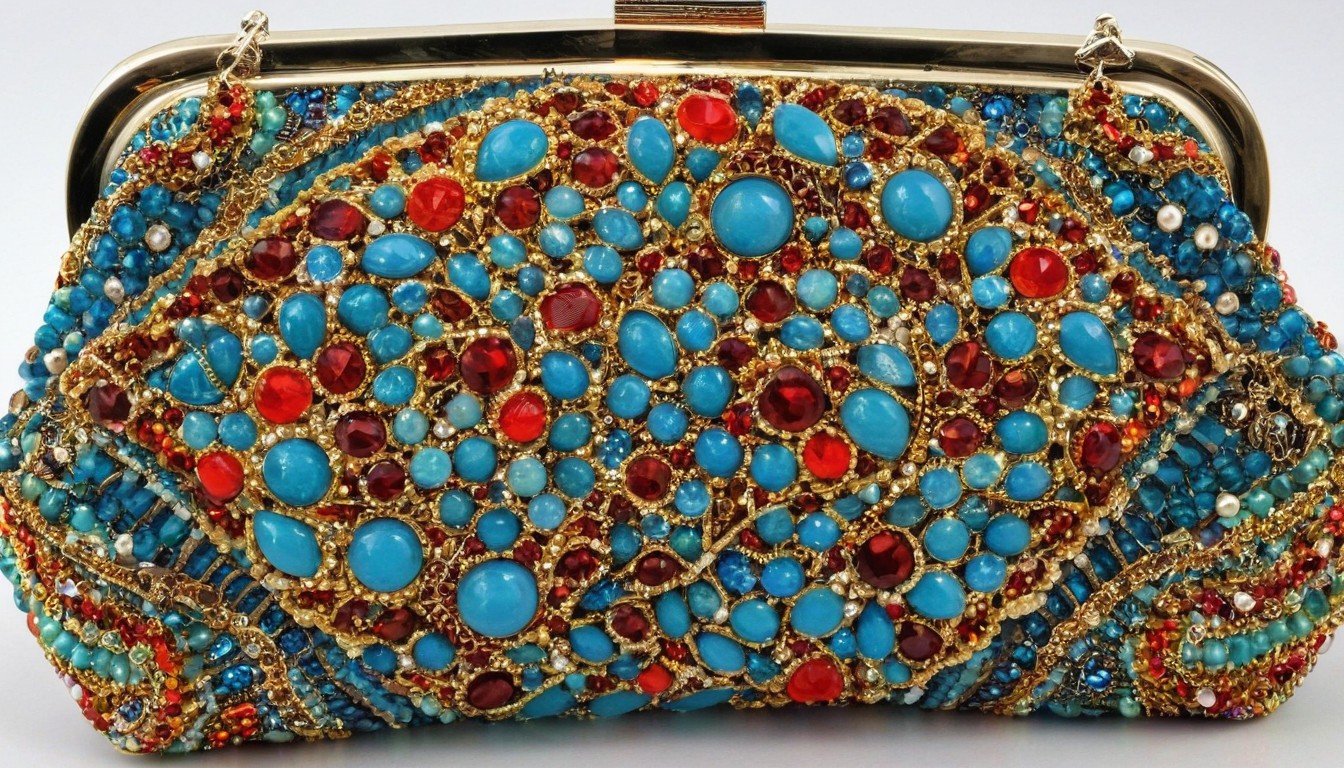
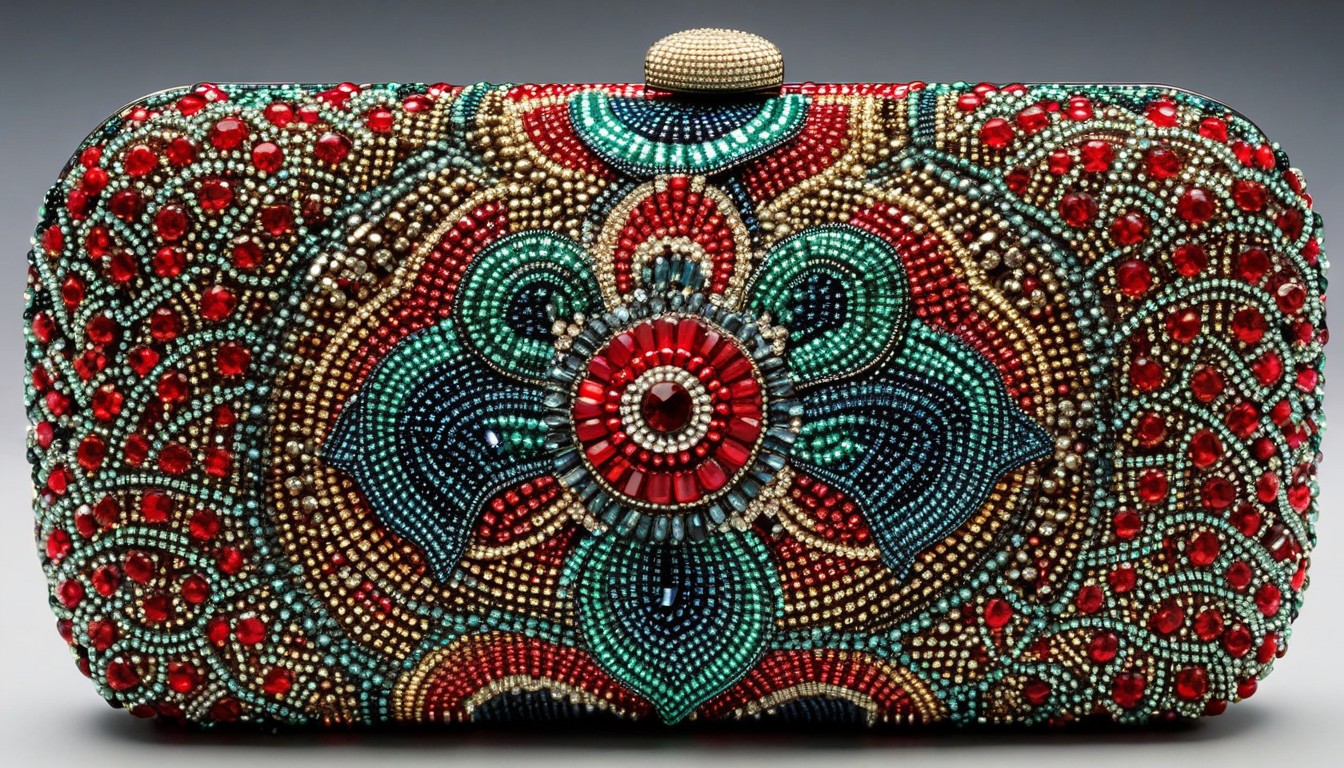
Valentine's Day is just around the corner, and what better way to express your love than with a handmade gift? This year, consider creating a unique and personalized beaded clutch for your special someone. Not only does this DIY project allow you to showcase your creativity, but it also adds a personal touch that will make the gift even more meaningful. In the Craft Bazaar, we'll guide you through the process of crafting your own beaded clutch, highlighting each step to ensure a stunning result that will leave your loved one impressed.
Gather Your Materials
Before diving into the crafting process, it's essential to gather all the necessary materials. For this DIY beaded clutch, you'll need a plain clutch bag, beads in various sizes and colors, strong glue suitable for fabric, a small paintbrush, and a clear sealant spray. Choose beads that complement each other and align with your loved one's taste to make the clutch truly special.
Plan Your Design
Take some time to plan the design of your beaded clutch. Consider incorporating symbols, initials, or a pattern that holds significance for you and your partner. You can sketch your design on paper or visualize it directly on the clutch. Planning ahead ensures that the beading process goes smoothly and that the final result is both aesthetically pleasing and meaningful.
Picture
Prepping the Clutch
Begin by prepping the clutch for beading. Clean the surface to remove any dust or dirt that might interfere with the adhesion of the beads. If your clutch has any embellishments or hardware, consider whether you want to work around them or remove them temporarily for easier beading. Lay the clutch flat on a protected surface to avoid any mess during the crafting process.
Beading Process
Now comes the exciting part – the beading process. Using the strong fabric glue and a small paintbrush, apply a thin layer of glue to a small section of the clutch. Start placing the beads according to your planned design, pressing them gently into the glue. Work in small sections to ensure that the glue remains tacky, allowing for secure adhesion of the beads. Continue this process until your entire design is complete.
Picture
Precision and Patience
Precision is key in creating a beautifully beaded clutch. Take your time and be patient with the process. If a bead is not aligned correctly, use a toothpick or the tip of the paintbrush to adjust its position. This attention to detail will result in a polished and professional-looking finished product.
Drying Time
Allow the beaded clutch to dry completely before moving on to the next steps. Depending on the type of glue used, drying times may vary, so be sure to follow the manufacturer's instructions. It's crucial to resist the temptation to touch or move the clutch during this time to prevent any beads from shifting.
Picture
Seal the Beads
To ensure the longevity of your DIY beaded clutch, seal the beads with a clear sealant spray. This step adds a protective layer, making the clutch more resistant to wear and tear. Be sure to follow the instructions on the sealant spray and apply it in a well-ventilated area.
Conclusion:
Crafting your own beaded clutch for Valentine's Day is a thoughtful and creative way to show your love. This DIY project allows you to customize a practical accessory with sentimental value. By following these step-by-step points, you'll create a one-of-a-kind gift that reflects your thoughtfulness and effort. This Valentine's Day, give the gift of DIY love with a personalized beaded clutch that will be cherished for years to come.


